Streamdal Quick Start
There are just two steps to get Streamdal up and running.
First, you’ll need to install the Streamdal Server and Console UI. Then, you’ll need to instrument your code using one of the Streamdal SDKs.
Step 1: Install Streamdal Server and Console
The quickest way to deploy Streamdal is using the provided script via curl. This script installs our docker-compose.
Note: ensure the Docker daemon is up before running this script.
curl -s https://sh.streamdal.com | bashRun the docker ps command to view the status of the deployment. A successful
deploy should give a reading similar to this:
CONTAINER ID   IMAGE                       COMMAND                  CREATED          STATUS          PORTS                                            NAMES
ed6f02a60db1   streamdal/console:v0.1.26   "/tini -- docker-ent…"   1 day ago   Up 10 minutes   0.0.0.0:8080->8080/tcp                           streamdal-console
75823378255d   docker-envoy                "/usr/local/bin/envo…"   1 day ago   Up 10 minutes   0.0.0.0:8083->8083/tcp, 10000/tcp                streamdal-envoy
aa59c29d9221   streamdal/server:e074107    "/server --debug"        1 day ago   Up 10 minutes   0.0.0.0:8081->8081/tcp, 0.0.0.0:8082->8082/tcp   streamdal-server
750468b0c1bc   redis:latest                "docker-entrypoint.s…"   1 day ago   Up 10 minutes   0.0.0.0:6379->6379/tcp                           streamdal-redis
Once everything is up you should be able to access the console at http://localhost:8080
Step 2: Instrument Your Code
With the server and console up and running, it’s time to instrument Streamdal into your code using one of our SDKs. Check out the various languages under SDKs here in the docs to find the right one for your project, or learn how to add Streamdal to it.
Want to just kick the tires? Use the demo client:
docker run \
  --name billing-service-stripe-register \
  --label app=billing-service-stripe-register \
  streamdal/demo-client:2249e0f \
  -d \
  --message-rate=10,20 \
  --service-name=billing-service \
  --server-address=localhost:8082 \
  --operation-type=2 \
  --operation-name=stripe-register \
  --component-name=stripe \
  --data-source-type=file \
  --data-source-file=/assets/sample-billing-producer.json
Step 3: Explore the Console
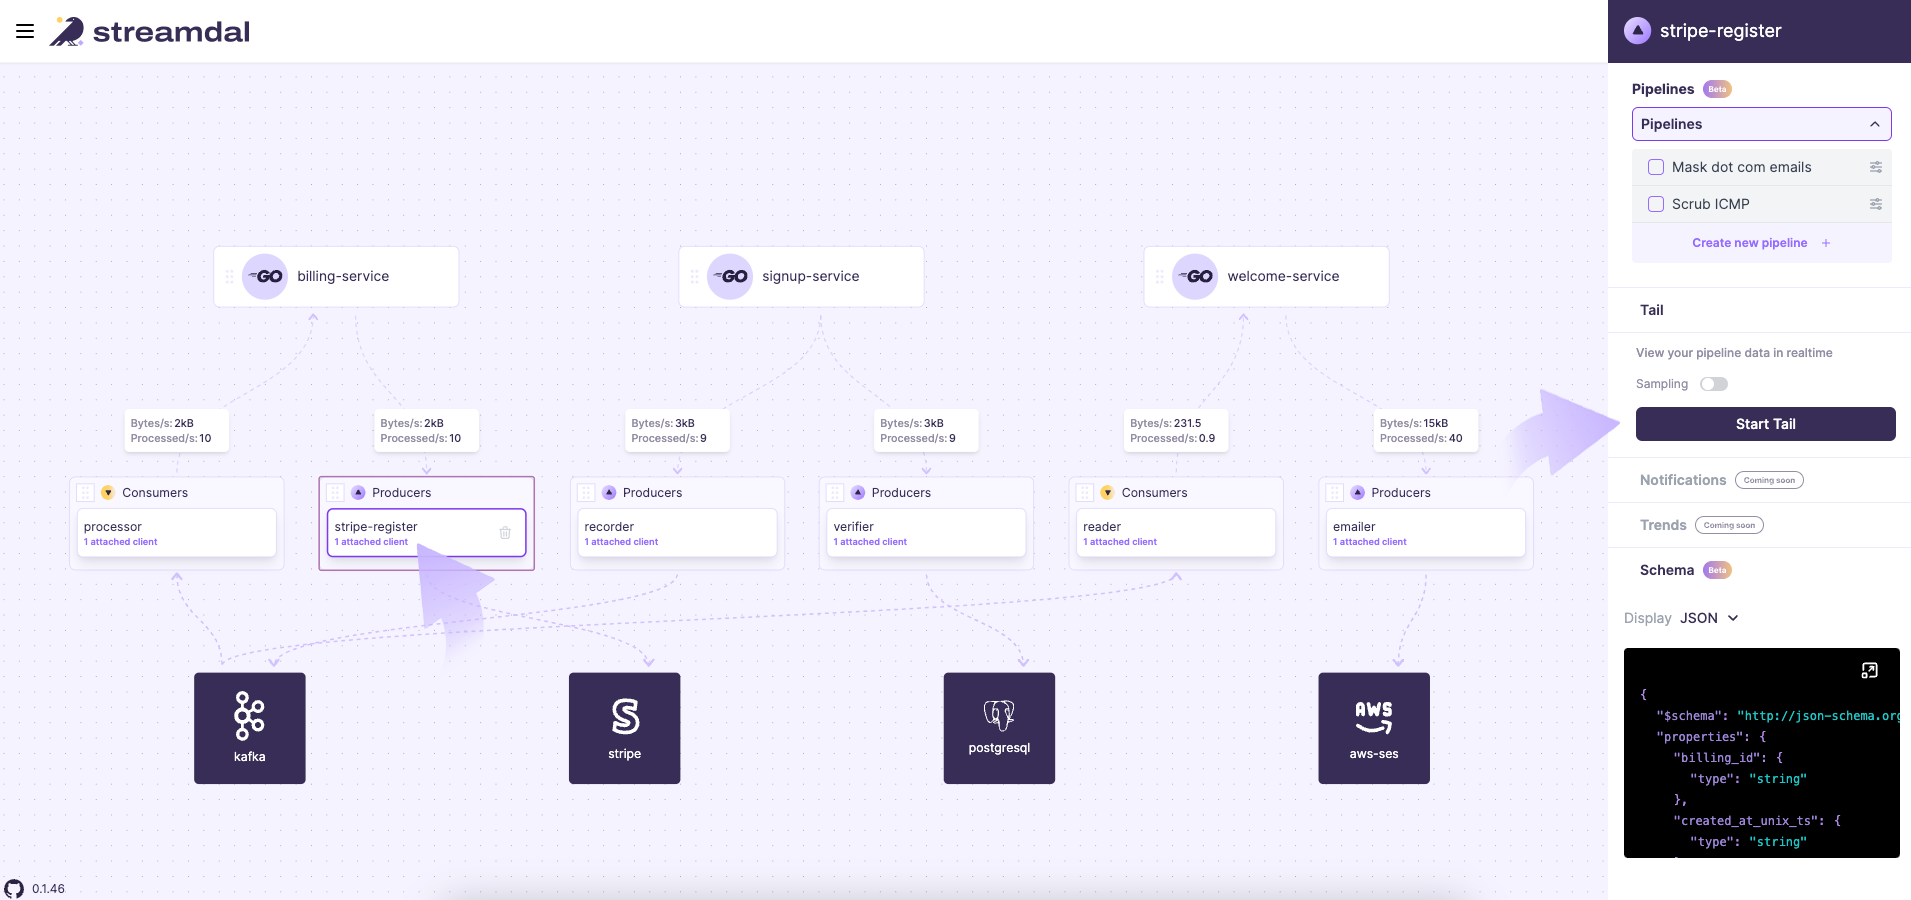
Once an SDK is connected to your server you should be able to see the data flowing in the Console UI.

What’s next?
Read more about what you can do with the Console UI, and start peeking into data with Tail.